Start-to-Finish Reglazing Process
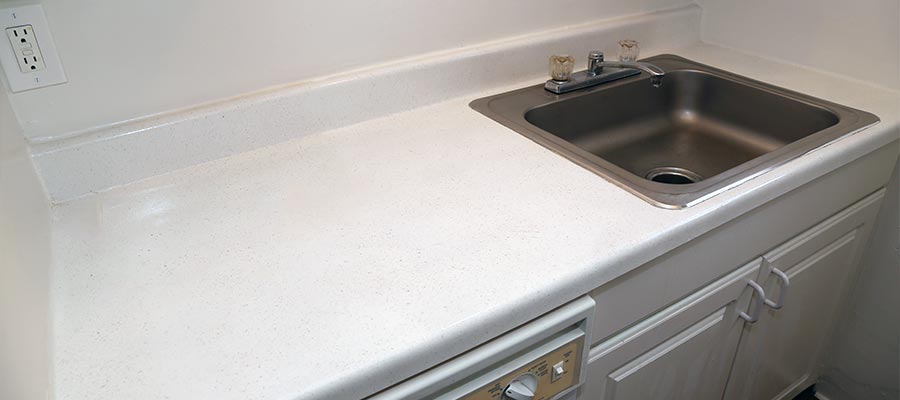
Jet's complete reglazing process is designed to provide the best results without having to worry about expensive cost and inconvenient mistakes. Our professionals have been specially trained to handle all of the equipment, chemicals, and knowledge/experience required to properly handle glazing projects.
The first step in this process is the initial appointment to discuss your reglazing project. Request a free quote today to schedule an application date, choose a custom color and design, and get started on your glazing journey!

Preparation & What to Expect
When preparing for your reglazing project, there are a few important factors to consider to guarantee the best results. We ask all of our clients to take the following instructions into account:
- All normal scheduled work is done between the hours of 8am to 5pm Monday - Friday.
Special exceptions can be made but must have prior approval. - All residents (including pets) cannot be present during the process and must be gone for at least 4 hours after the application is completed. Your cooperation is a must for the safety of everyone involved.
- Dripping faucets must be repaired before any work can be completed.
- Surfaces must be clean and dry (bathtubs, sinks, counter tops, cabinets, floors etc.) and everything around the work area should be removed.
During the process dust particles will be created. We do our best to keep them at a minimum but suggest you cover areas that you do not wish for the residue to settle on. These items include things like furniture, appliances, fixtures, plants, toiletries, open/exposed food or anything else of a sensitive nature. The clean-up of any dust beyond the immediate work area is not the responsibility of Jet’s Amazing Glazing’s workers.
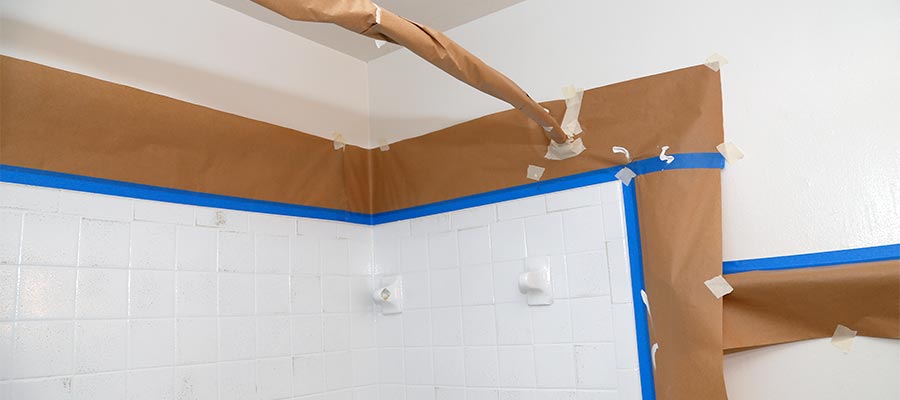
On the day of the application you can expect the preparation team to arrive first to get the surface ready for glazing. The preparation will include but is not limited to: removing or covering of handles and spouts, cutting out old caulking, cleaning, stripping (if applicable), scraping, sanding and wiping excess debris from the immediate area of scheduled project. They will then chemically etch and repair any cracks, chips, or scratches. Re-caulk where needed and make sure the area is clean and dry. Finally, they will cover all surrounding areas with professional paper, specialized masking tape and drop cloths where needed to ensure there is no over-spray on any other surfaces. This process of breaking down the old surface of the substrate is necessary for proper adhesion of the new epoxy coating.
After preparation is complete, the sprayer will arrive to do the actual spraying of the new epoxy coating. Our sprayers come equipped with the proper spraying and ventilation equipment. This includes personal respirators, professional spray gun equipment and a commercial grade ventilation system. These ventilation fans have a heavy-duty hose that is secured on the end, then stretched and placed in an accessible window or doorway to ensure the fumes are exhausted outside and away from the area being coated. We do this to the best of our ability so there is the lowest amount of odor left from the epoxy fumes during the process. The application is a three-step process consisting of first a primer, second the actual coating and then finally a clear topcoat. The paper and taping must be removed and fixtures can be re-installed if removed after 24 hours.

After Care & Maintenance
Once your glazing project is complete, proper after care is essential to maintain the look, function, and durability of the glaze. Any misuse of chemicals or not following the after care guidelines listed below will result in a voided warranty.
- DO NOT use surface or get the surface wet for 24 hours
- DO NOT let water sit on the surface for an extended amount of time
- DO NOT use any abrasive scrubbing pads or cleaners on or near the refinished surface; you may clean with a mild liquid cleaner and soft sponge after use
- DO NOT use acid bearing or bleaching chemicals such as drain openers, tile grout cleaners, hair dyes, cosmetics, perfumes etc.; these chemicals could damage or stain the newly glazed surface
- DO NOT leave metal objects like shaving cream canisters or razors on the surface; they can cause the surface to rust
- DO NOT us rubber bath mats inside the tub; they can react with the new finish when subjected to hot water
- DO NOT drop sharp or heavy objects in the area; this may cause chipping or cracks
